Basic Tactics for Basic Kommando Part I
After four years working for Uncle Sam and his merry band of misfits, I picked up quite a bit of books on tactics for use as a part of a military unit, along with a hefty load of experience. Now that Uncle Sam wants me out, I’m out of a job soon. And all that knowledge is now semi useless, so I’m giving it to you, oh tired masses of LARPers and degenerates.
After much deliberation, I’ve written a low key guide that will teach you some super basic tactics so you don’t look like a total autist when your mom drops you off at the local airsoft field.

If the Albanians can do it, you can too!
To start off, we are going to look at basic individual movement techniques. The bread and butter of every real soldier (read: Infantryman), it’s one of the first forays into tactics trainees come into contact with in basic training, and will be seen again and again as the trainee evolves into a baby private, to disgruntled NCO. It covers the old adage of “If you aren’t shooting, you’re moving or communicating”, and can make the difference between getting a new piercing between the eyes and making it home in pretty much one piece.
Before you begin moving, you should first inspect yourself and make sure you’re adequately prepared for short term combat. Some recommendations include, but are not limited to:
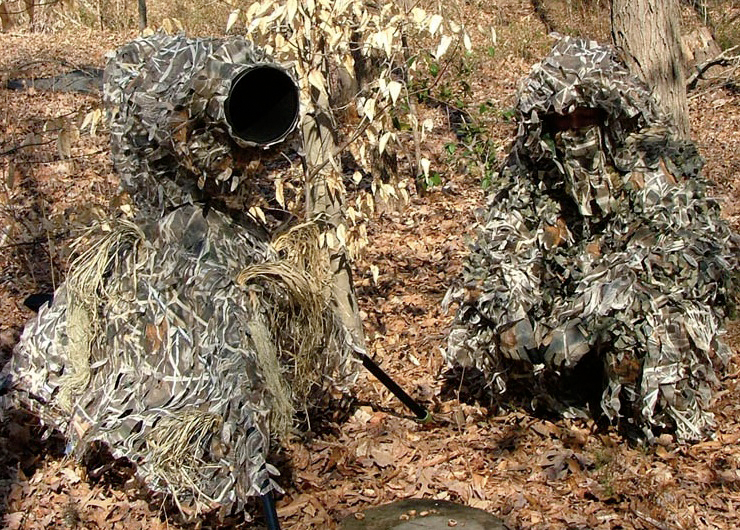
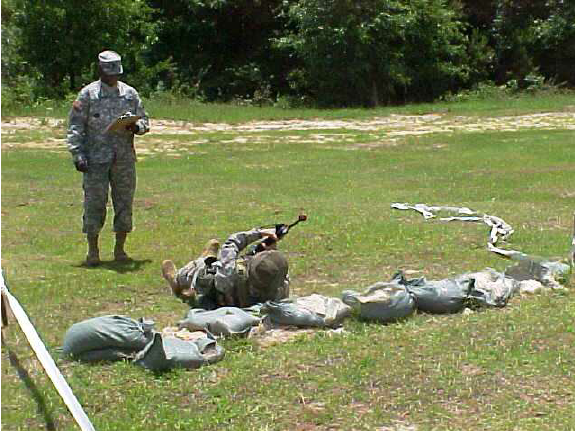
This is a birdwatcher. If he can do it, you should too.
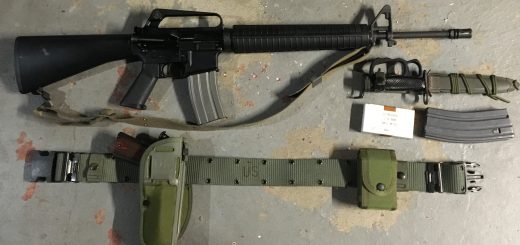
- Camouflaging your person, weapon,and kit
- Tape any loose straps, anything that can make sound while moving like dog tags or sling swivels.
- Don’t carry useless equipment
- Ensure you have enough ammo and supplies to fight and make it back
Those aren’t the only things that you should prepare, but they are some often overlooked things.
Now on to personal movement. Any and all movement should be done deliberately and in a way that minimizes your signature,so as to hinder tracking efforts. Some movement skills include:
- Stop, look, listen, and smell before moving after a short halt. Known as SLLS, it’s done constantly during a patrol. Take special note to conduct SLLS if birds or animals near you are alarmed or suspiciously quiet.
- Look for your next position before leaving a position. You don’t want to get caught in the open trying to decide where to go and then get shot at.
- Use covered and concealed routes for movement. Usually the thickest route is the most concealed, but the slowest to move through, and vice versa.
- Use battlefield noises to conceal your own movement noises.
- Avoid steep slopes and areas with increased fall risk. Not only will you bust your ass, you will make a ton of noise and the enemy will laugh at you.
- Avoid open areas like clearings, open fields, hilltops,and cliff edges.
Different levels of cover and concealment will require different ways to move through terrain so as to avoid either detection or ventilation.
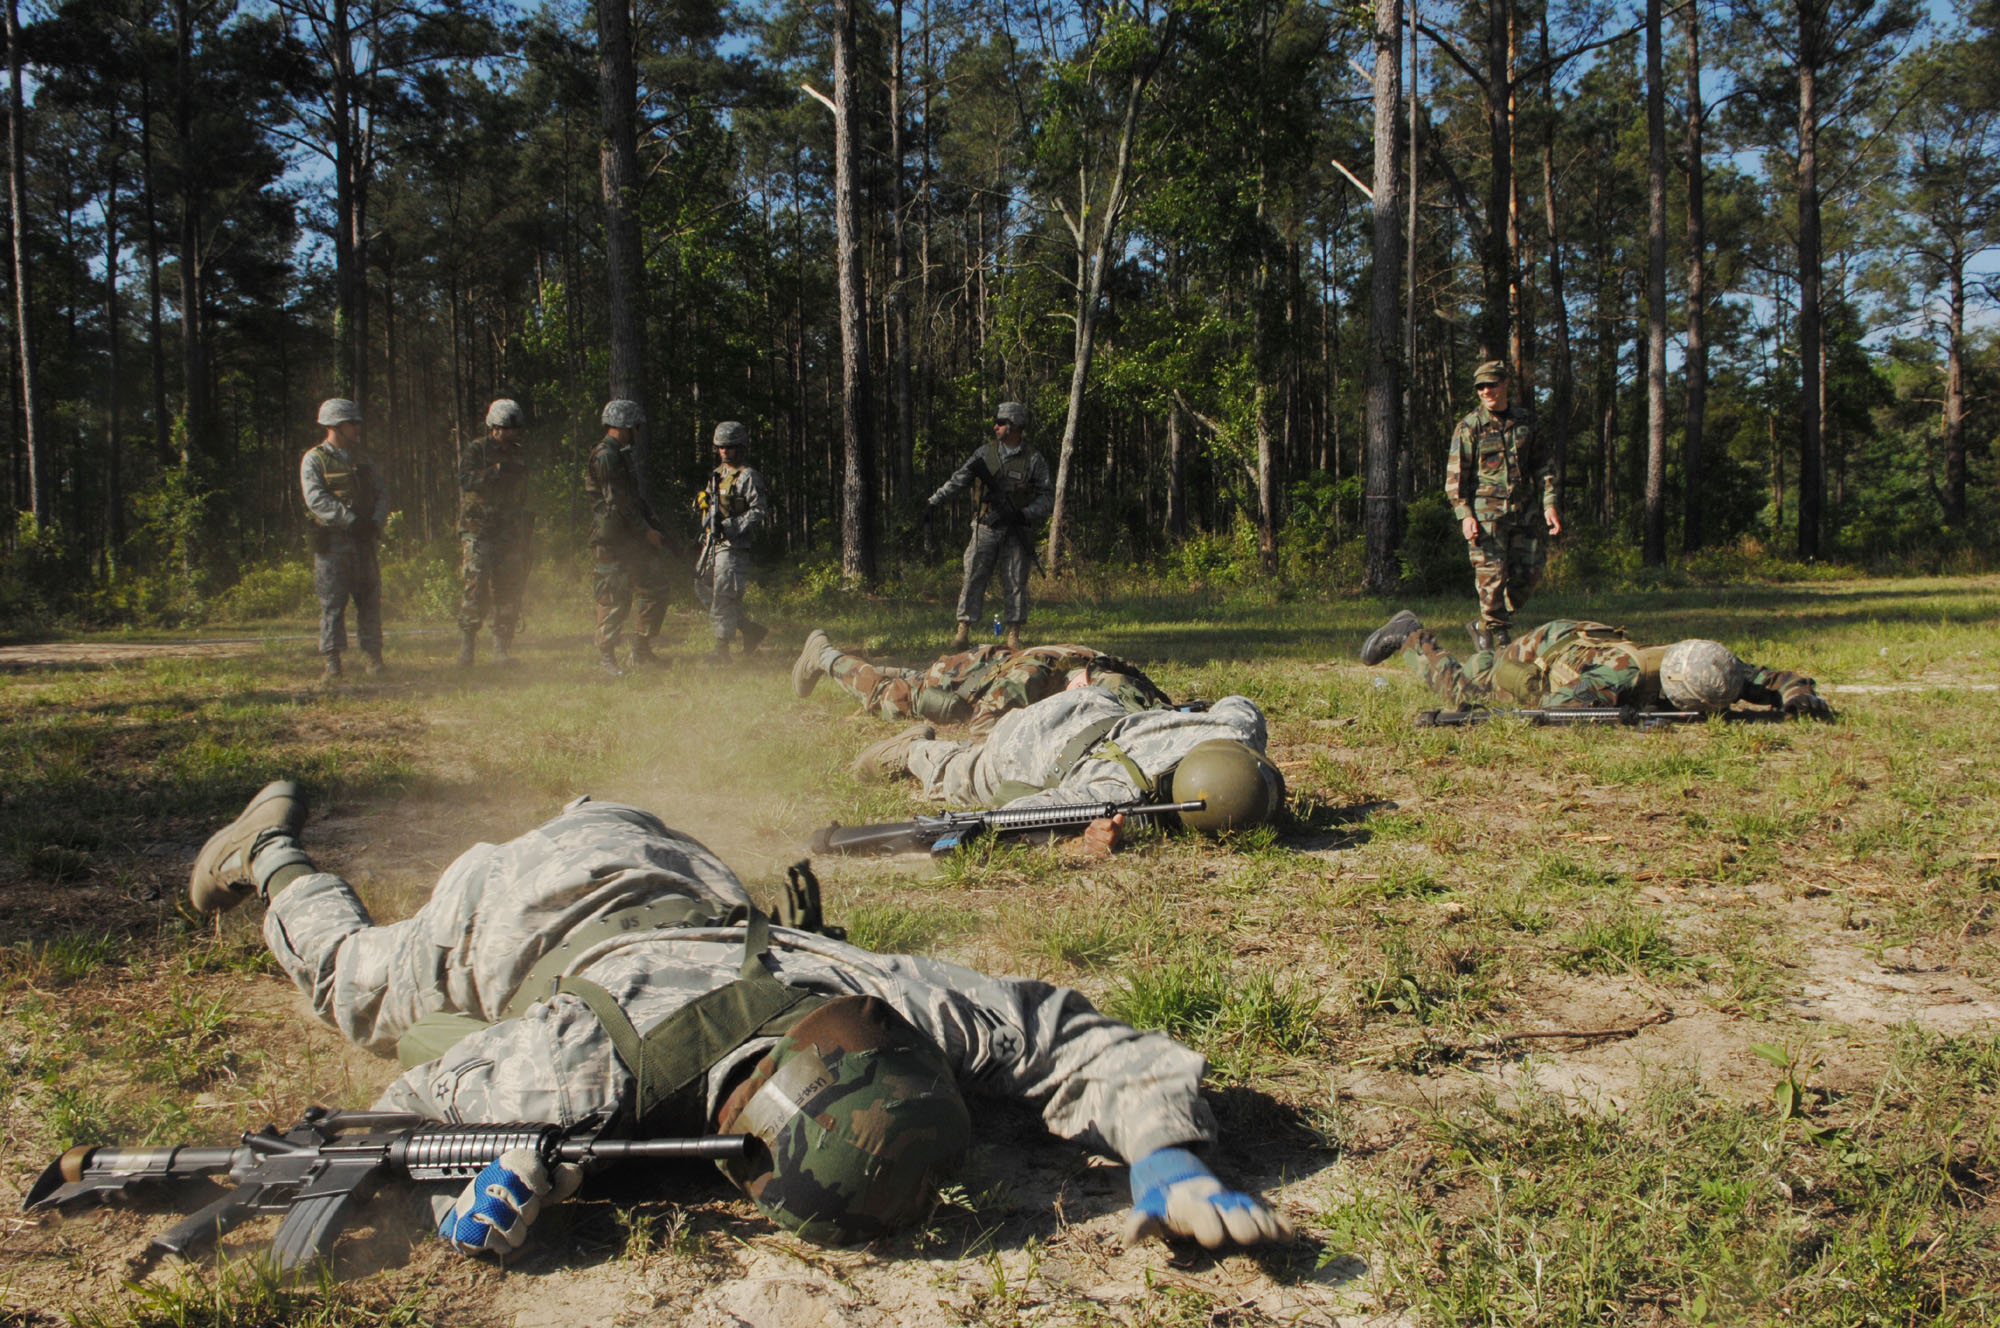
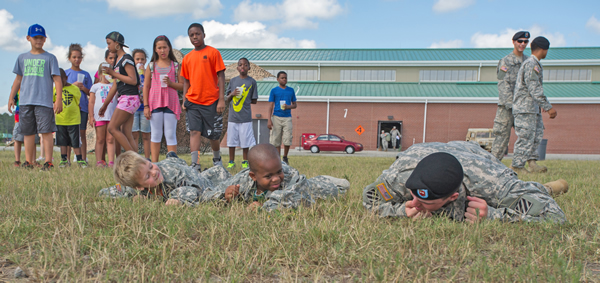
U.S. Air Force members, 23rd Civil Engineering Squadron, low crawl during a field exercise at Moody Air Force Base, Ga., April 23, 2008. This is what you should look like when low crawling, plus or minus some misery.
The slowest, but safest, method is the low crawl. Also known as skull dragging, it provides the lowest silhouette to any observers, and should be used when cover and concealment are minimal. To low crawl, get prone and keep your body as low to the ground as possible. Lay your head down with your ear directly resting on the ground. Hold your rifle by the front handguard or sling swivel with your firing hand, and let the weapon rest on your arm. To move, push your arms forward as low as possible to the ground, then pull your firing side leg forward, all the while keeping it as close to the ground as possible. Then, you pull with your arms and push with your leg. Take care to not try and raise your body too much off the ground, most people have the tendency to raise their buttocks up too high or their head too high. It’s called skull dragging for a reason.
Now we look at the high crawl. The high crawl enables faster movement while still providing a lower silhouette. While not as low a silhouette as the low crawl, it’s good enough for government work. Best used when concealment is adequate but there is a chance that if you stand up you’ll get shot. To high crawl, keep your body off of the ground and supported by your forearms and lower legs. Cradle the weapon in the crook of your elbows, and make sure the muzzle doesn’t dig into the dirt. Move forward by bringing your left elbow forward, followed by your right leg, and alternate to move.
A US Army soldier teaches the next generation of child soldiers how to high crawl in preparation for the Invasion of Russia (2022, colorized)
An often overlooked movement technique is the side roll. Not officially seen in military literature, it’s just some low key knowledge that’s sometimes taught at infantry units. Basically, while prone, you tuck your weapon close to the body, keep your feet together, and roll to either the left or the right for one or two rolls. Used mostly when you need to move to the left or right while prone quickly, such as when trying to evade detection. Also used to spoof the enemy and confuse them to your real, precise location.
The side roll should look like this,only less crappy.
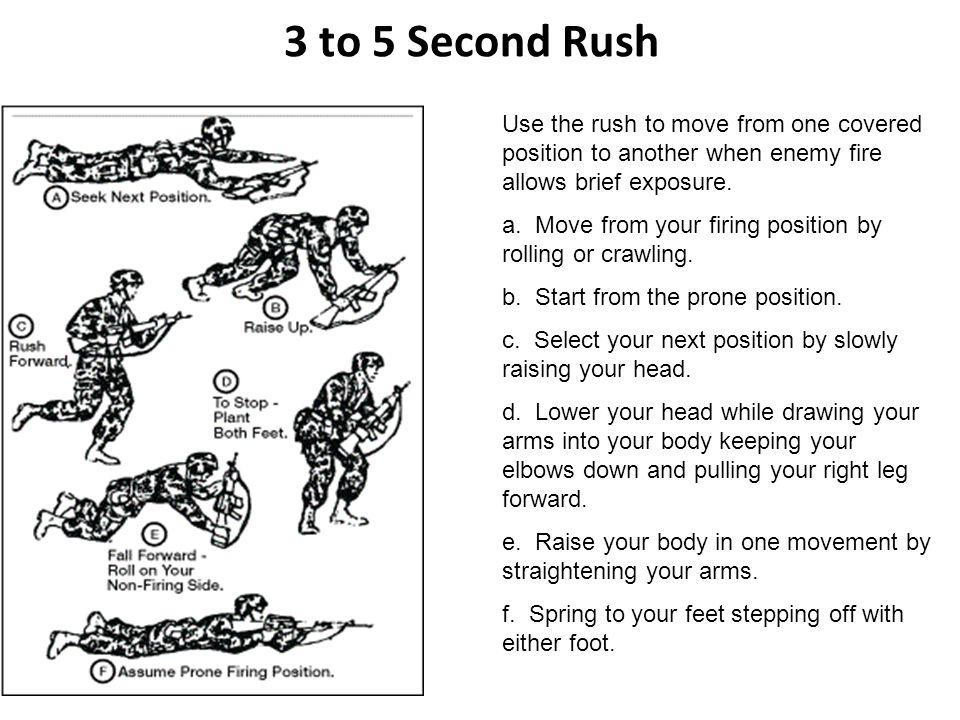
The final individual movement technique I will cover is the three-to-five second rush. Aptly named because that’s what it is, a three to five second rush to advance on enemy positions when speed is more important than concealment. Rushes should be kept closer to three seconds than five, but definitely no longer than five. The reason being that a bunch of scientists smarter than I figured out that the average time for a soldier to react, train his sights on something moving, and fire is about five seconds. Ideally you have cover available when rushing and you rush from cover to cover. If cover is not available or very sparse, what is done is you rush, immediately go prone, roll to the left or right for about one revolution, crawl for a few meters, and rush again. This is the most effective way to confuse the hell out of anyone shooting at you, and can even give the impression that they are facing a larger force than they really are. Sometimes it’s integrated with firing from the prone so as to keep the enemy’s head down and give a slightly larger margin of safety while rushing.
This probably explains it better than I can in less words.
That’s it for Part I, on the next part we will cover buddy movement techniques, which will maximize your effectiveness with a friend. (Note: Buddy not included)